**Master Real Estate Listing Photography: Essential Tips and Tricks for Stunning Visuals**
In the bustling world of real estate, capturing the perfect photograph can make all the difference in sealing a deal. Mastering real estate listing photography requires not only technical skills but also an artistic eye to showcase properties in their best light. Whether you’re a seasoned photographer or a novice looking to expand your portfolio, this comprehensive guide will provide you with essential tips and tricks to elevate your real estate photography skills. Dive into the intricate details of lighting, composition, and equipment to create stunning visuals that captivate potential buyers and drive real estate sales.
Understanding the Importance of Real Estate Photography
Real estate photography plays a pivotal role in the property listing process. In an industry where first impressions are everything, high-quality images can significantly influence the perception of a property and entice potential buyers to schedule viewings. The visual appeal of a listing often determines whether a potential buyer will delve deeper or move on to another property. Professional real estate photography highlights the property’s most attractive features, presenting it in the best possible way to reach the right audience.
To capture photos that resonate, consider the emotion and story you want your images to convey. Excellent real estate photography should not only display a property’s structure but should also evoke a sense of life and comfort. By mastering this art, you’ll not only improve the visibility of listings but also enhance the credibility and reputation of your brand.
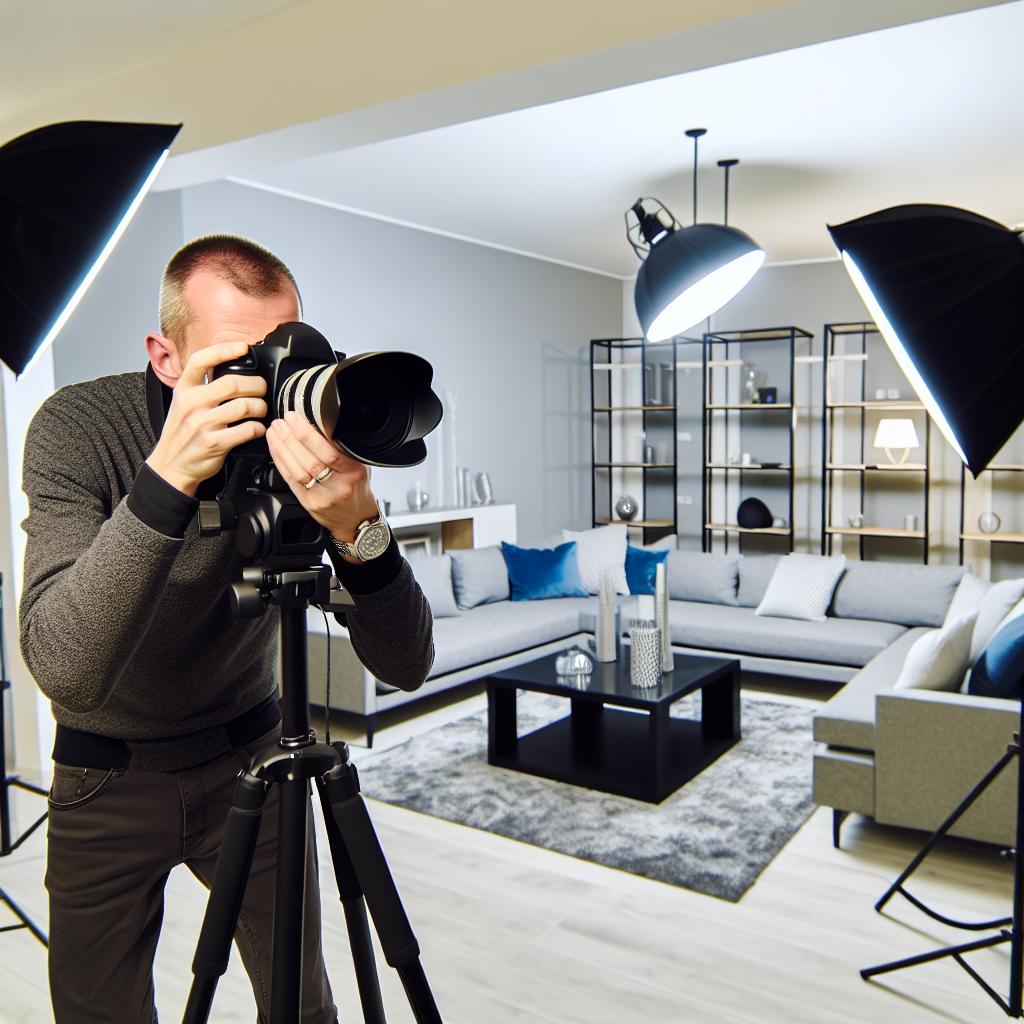
Essential Equipment for Real Estate Photography
To capture stunning real estate photos, investing in the right equipment is crucial. While it’s possible to produce good images with basic gear, professional-grade equipment can significantly elevate the quality of your work. Start with a high-resolution DSLR or mirrorless camera that offers interchangeable lenses. This flexibility allows you to switch between wide-angle lenses for expansive rooms and prime lenses for detailed shots.
A sturdy tripod is essential for maintaining stability and capturing sharp images, especially in low-light conditions. Look for tripods with adjustable legs and heads to accommodate various shooting angles. Additionally, investing in an external flash and diffusers can help control lighting in rooms without adequate natural light. Don’t forget a reliable photo editing software to fine-tune your images and enhance their appeal post-shoot.
Mastering Composition and Angles
Composition is a fundamental aspect of real estate photography, as it determines the overall aesthetics and balance of your photos. The rule of thirds, a basic photography principle, can be applied to create harmonious and engaging compositions. Imagine a grid overlaying your image and align the key elements along these lines or at their intersections to create a balanced perspective.
Experiment with various angles to present the property uniquely and emphasize its best features. Low-angle shots can add grandeur to a room, while high-angle shots can provide a comprehensive view of a space. Be mindful of vertical lines and try to keep them straight to maintain a professional appearance. Proper composition draws viewers’ eyes to focal points, showcasing the allure of each property.
Lighting Strategies for Optimal Real Estate Photos
Lighting is a critical component in real estate photography that dramatically impacts the mood and clarity of images. Natural light is often the best choice, providing a warm and inviting feel to interior spaces. Schedule shoots during the golden hour—just after sunrise or before sunset—when the light is soft and diffused, minimizing harsh shadows.
In instances where natural light is insufficient, learn to manipulate artificial lighting creatively. Use external flashes, reflectors, and continuous lights to fill in shadows and highlight key areas. Balance color temperatures between natural and artificial sources to maintain a consistent appearance across your images. By mastering lighting techniques, you can capture images with great depth and dimension.
Post-Processing Techniques for Real Estate Photography
Post-processing is where the magic happens. It’s your opportunity to refine your images and correct any imperfections. Begin with the basics by adjusting the exposure, contrast, and white balance to ensure the colors appear true to life. Use cropping tools to eliminate distractions in the frame and focus on the property’s strengths.
Advanced editing techniques such as HDR (High Dynamic Range) can be particularly useful in real estate photography. This method involves merging multiple exposures of the same scene to create a balanced image that retains details in the highlights and shadows. Be careful not to over-edit, as overly-enhanced images can appear artificial and off-putting to potential buyers.
Marketing Your Real Estate Photography Skills
Once you’ve honed your real estate photography skills, it’s time to market yourself effectively to attract clients. Start by building a professional portfolio featuring your best work. An online presence is crucial; create a website or blog showcasing your skills, client testimonials, and contact information.
Leverage social media platforms and networking events to connect with real estate agents, property managers, and home builders. Offering limited-time promotions or complimentary services can also help you break into the industry and establish a client base. Remember, consistent quality and professionalism will set you apart in the competitive world of real estate photography.