**Mastering HDR Real Estate Photography: Top Tips for Stunning Shots**
When it comes to the competitive world of real estate photography, mastering High Dynamic Range (HDR) techniques can set your work apart. HDR photography allows real estate photographers to capture a greater range of luminosity than what standard digital imaging techniques can offer. This is crucial for showcasing properties in their best light, literally and figuratively. Let’s dive into some top tips for stunning HDR real estate photography to ensure your shots not only meet but exceed your clients’ expectations.
Understanding the Basics of HDR in Real Estate Photography
HDR photography combines multiple images taken at different exposures into a single shot. This technique enables photographers to balance light and shadow, capturing the property’s details that might be lost in standard photography. For real estate photography, HDR enhances every room’s natural beauty, ensuring elements like sunlight through windows and the texture of walls and flooring are clearly visible.
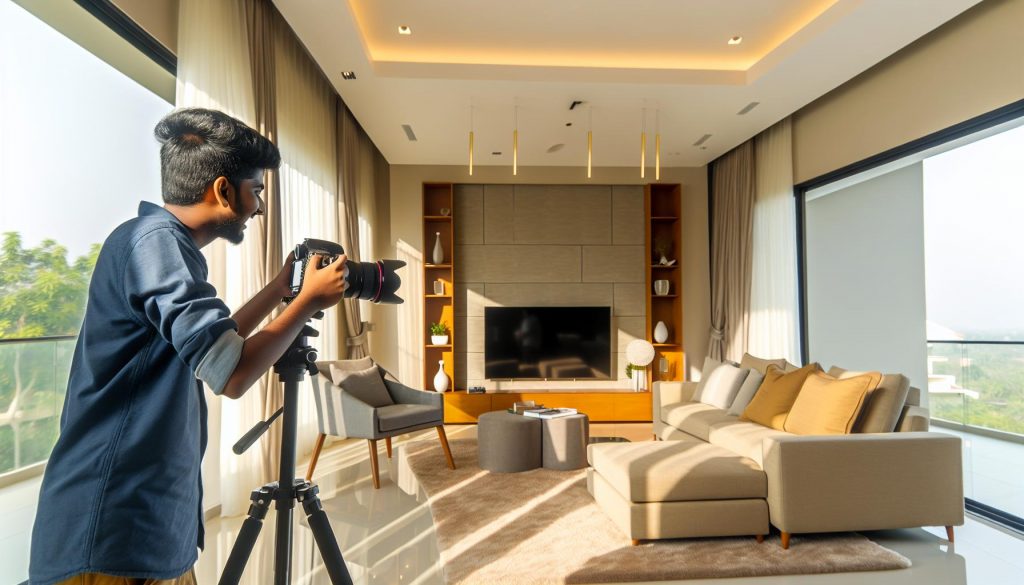
To start, ensure you have a tripod for stability as you’ll be taking several shots of the same scene at different exposure levels. This stability is crucial for aligning images in post-processing. Use a camera with bracketed exposure settings; this feature automatically captures multiple shots at different exposures – typically one underexposed, one correctly exposed, and one overexposed. Understanding these basics is the first step in mastering HDR techniques for real estate photography.
Essential HDR Equipment for Real Estate Photographers
Equipping yourself with the right tools is vital for excelling in HDR real estate photography. A reliable DSLR or mirrorless camera with bracketing capabilities is a must-have. This function allows you to take several exposures in quick succession without manually adjusting the setting each time. A sturdy tripod is equally important, ensuring that each photo taken from different exposures is aligned perfectly.
Consider investing in a wide-angle lens, which helps capture the full feel and proportionality of a room. Additionally, a remote shutter release can minimize camera shake, especially in low-light conditions where longer exposures are needed. Finally, HDR software or Photoshop will be necessary for post-processing your images, allowing you to blend the different exposures seamlessly. With these tools, you’re well on your way toward producing stunning HDR real estate photos.
Step-by-Step Guide to Capturing HDR Real Estate Photography
Achieving perfect HDR real estate photographs involves a deliberate process – here’s a step-by-step guide to help you get it right. Begin with setting up your tripod in a location that offers a comprehensive view of the room. Ensure your camera is set to manual mode, allowing full control over settings like aperture, ISO, and shutter speed.
Adjust your exposure settings to take multiple bracketed shots. Typically, this means capturing a series of three to five images ranging from underexposed to overexposed. Focus on the subject that needs emphasis and use a timer or remote shutter release to avoid any movement during shots. Remember to check your histogram to ensure you’re not losing details in highlights or shadows. Following these stages meticulously will give you a cohesive set of images ready for processing.
Post-Processing Tips for HDR Real Estate Photos
Once you’ve captured your HDR shots, post-processing becomes critical in bringing your images to life. Start by importing your bracketed images into an HDR processing software like Adobe Lightroom or HDR Efex Pro. These tools help in aligning the images and correcting any discrepancies in exposure.
Pay close attention to color balance and saturation during post-processing. Real estate images should feature natural yet vibrant colors—overdoing saturation can make rooms look unrealistic. Focus on optimizing contrast and sharpness without adding too much noise. The goal is to showcase the property’s features authentically, enhancing the natural light and details captured in your shoot. Taking your time with post-processing ensures the final image is polished and professional.
Common Mistakes to Avoid in HDR Real Estate Photography
Even with the best equipment and processes, photographers often make mistakes that affect the quality of their HDR images. One common error is overprocessing, which can lead to unnatural-looking photos. Remember that HDR should enhance, not over-hype the property’s appearance. Keep adjustments subtle to maintain a realistic visual.
Another mistake is improper alignment of images. Even slight movements in the camera’s position during shots can result in misalignment during blending, leading to blurred images. Additionally, failing to use a wide-angle lens can result in cramped-looking space, losing the expansive feel that real estate images demand. By being aware of and avoiding these common pitfalls, you can elevate your HDR real estate photography to a professional level.
By integrating these tips into your HDR real estate photography workflow, you’ll be better equipped to deliver compelling images that capture your clients’ properties in the best light possible. Keep practicing and fine-tuning your techniques to continually improve and sustain a competitive edge in the market.


